| "The Meeting At Infinity" |
|
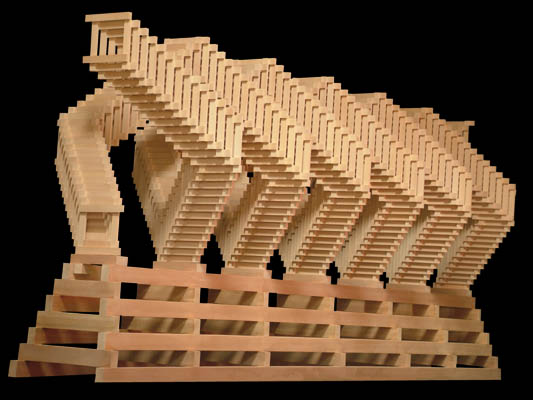
| Sometimes naming a sculpture can take a long time. This time the name could have related to it's right-handed, double-helix appearance, which among others immediately suggests DNA, Sequence, or Genometry. Other names suggested by its shape were Twin Rollercoaster, Revolution, Clockwise, and Recursion. Then there were the more poetic possibilities, Encore (refering to making two of the helical shapes), Entanglement, and Entwined. In the end, after a week of looking at over 130 possibilities, a whimsical name reminiscent of the Hitchhiker's Guide to the Universe was chosen. It refers to the many sets of parallel lines (at minimum 7) that, at least in the sense of perspective, do appear to meet at infinity. Here is how The Meeting At Infinity was made. | |
| Start with the thinnest pieces |
|
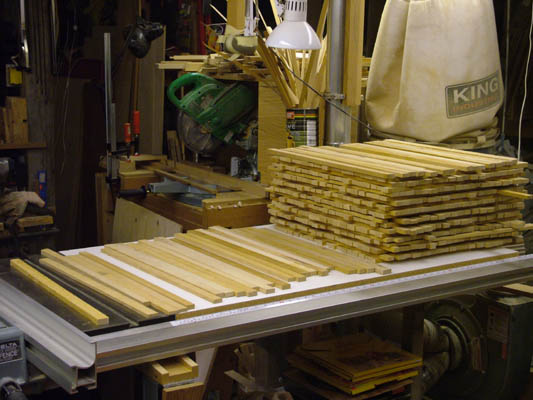
| Wanting to waste as little wood as possible, the first job was to look for the thinnest offcuts from the pile left over from cutting material for the square-cross section unit sculptures beginning with "All Is Number." Next was deciding on an optimum thickness that would be as thick as possible but without having to discard too many of the thinner pieces. | |
| All pieces cut in half. |
|
| Cutting each piece in half, and later in quarters, meant that less wood would be wasted when milling it into short uniform pieces. It is similar to trying to cut a long curved banana into two rectangular pieces, "parallelepipeds" to be more accurate. If you start cutting the banana lengthwise and finish by cutting it into the two short pieces, you will waste more fruit than if you first cut it into two shorter pieces (still curved but less so than before) and then trim the curved portions. Try it! | |
| Shimming with masking tape |
|
| The slight concavities remaining are shimmed with masking tape so the shimmed side can slide evenly against the tablesaw fence without being deflected by the pressure of a feather board while a sharp carbide blade smoothly cuts the other surface parallel to the fence. | |
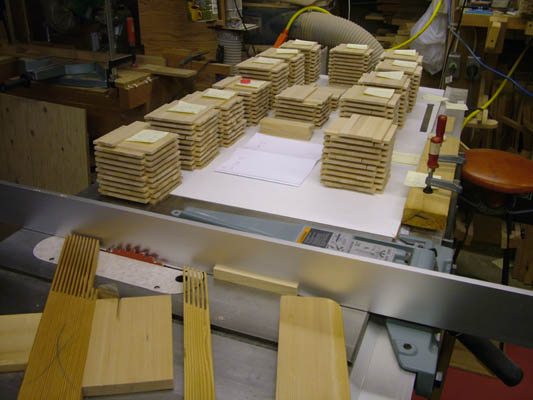
| All cut in quarters |
|
| Stacks were numbered and labeled to keep good ones together and have bad ones at hand when test pieces were required. | |
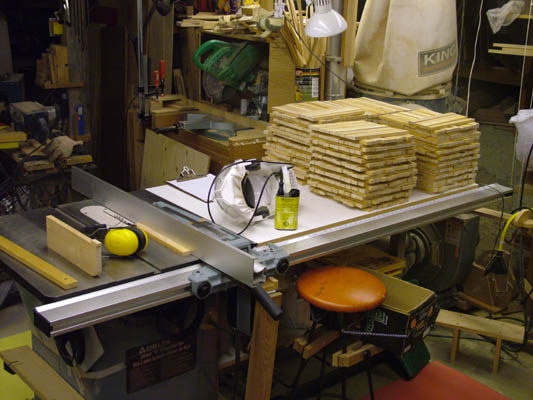
| Making thinner |
|
| With all pieces relatively flat and straight, running all of them through the saw another time makes them a little bit thinner, and a little bit straighter, for instance some pieces might not have been quite thick enough to use, but these undersize and sometimes less than perfect pieces become fine after another trimming of the whole bunch. | |
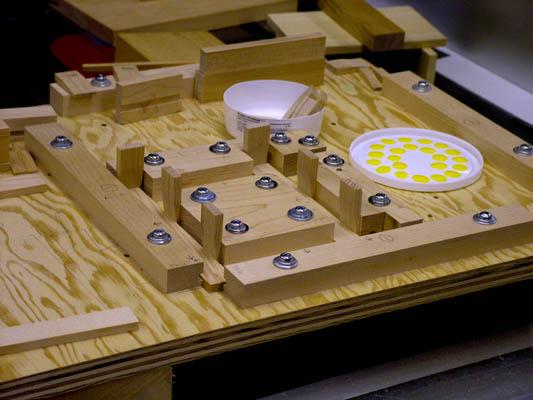
| Gluing Jig |
|
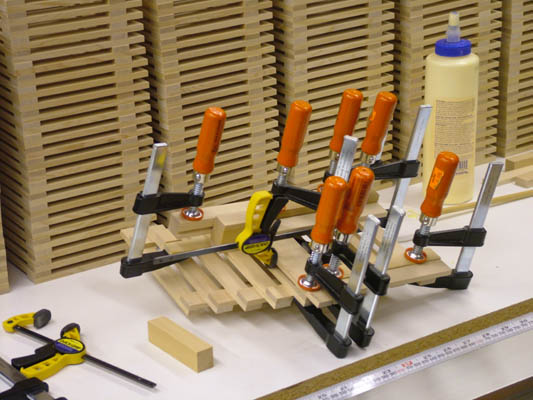
| Four piece 'sandwiches' were glued together as a unit, with proper alignment assured by wedging all four pieces into the jig and then clamping. | |
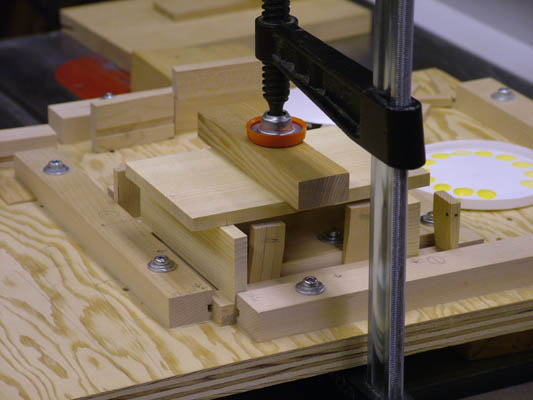
| Clamping |
|
| Two minutes of clamping was plenty as there were no warped pieces to restrain. The most difficult part was being sure that the wedges were well seated to be sure the pieces were properly aligned. | |
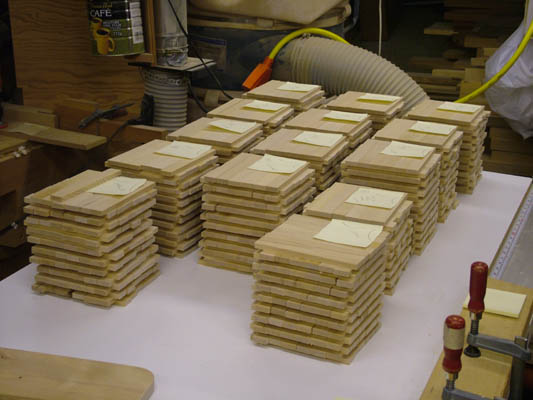
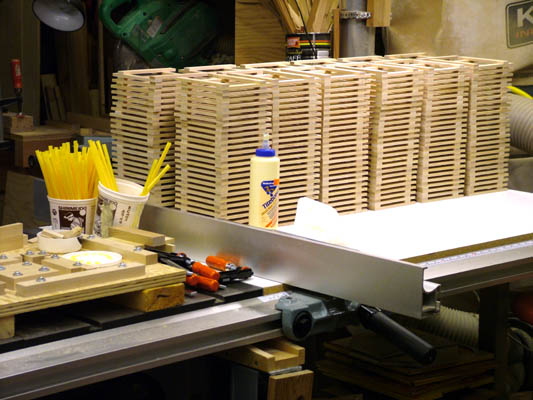
| Glued 'Sandwiches' |
|
| It was decided to glue all the units into two kinds (A and B) of mirror-image 4-piece sandwiches, then start by gluing 13 A sandwiches together into the first section before continuing on with the next section, using 13 B sandwiches. It takes four sections (two As and two Bs) to make a complete 360 degree revolution. Gluing these small, four-piece sub-assemblies together one by one, rather than attaching single pieces one by one all the way from top to bottom, was easier because it made it easier to keep track of when it was time to switch from A sections to B sections, plus it would otherwise have been more difficult to keep the pieces accurately aligned. | |
| First final assembly |
|
| The first A-sandwiches were glued without a jig because a jig that would work on the majority of the sculpture wouldn't work at the beginning, and vise versa. | |
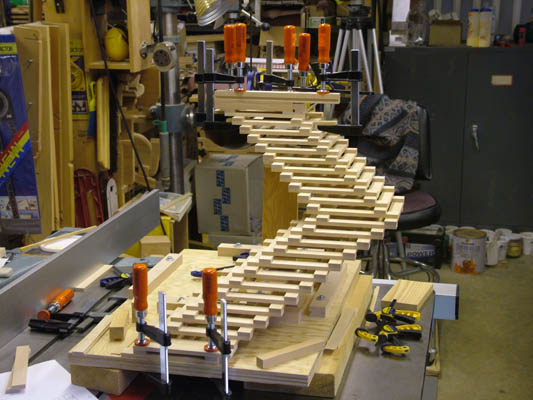
| 2nd section nearly finished |
|
| It didn't take long before the growing sculpture was too big to continue gluing on the tablesaw, both because of strength and as it got taller it got too close to eye level for visual alignment to work - actually the alignment was determined by clamped stops, but a visual inspection was necessary to avoid mistakes. | |
|
Four sections or one complete revolution or one third of one finished helix completely glued |
|
| It would have been possible to glue one revolution at a time and then glue those together, but such joints are difficult because it is so easy for the length of the sculpture to become like a lever inadvertently opening up the joint. | |
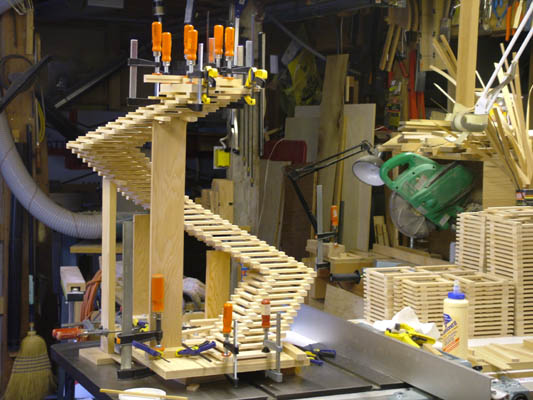
| Upright Gluing Pole |
|
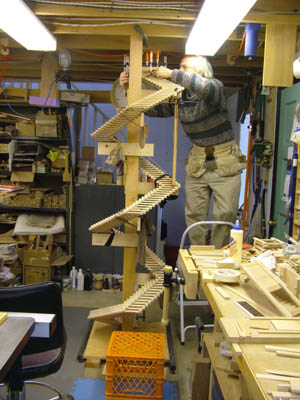
| The top of the finished helix will be about seven feet off the ground. Along the way, short supporting pieces were clamped to the central post. | |
|
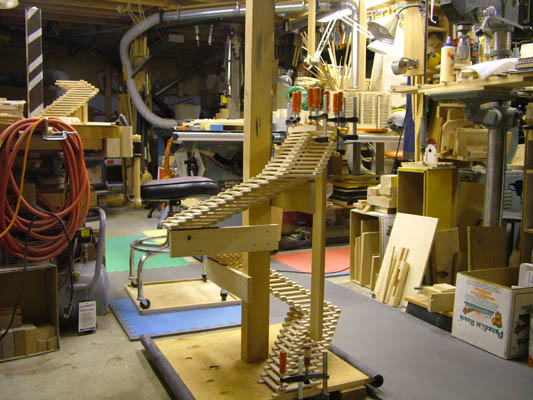
Nearing the end of first helix |
|
| The carpenter's belt was to hold wood wedges and clamps to stabilize the sculpture as it nears completion. | |
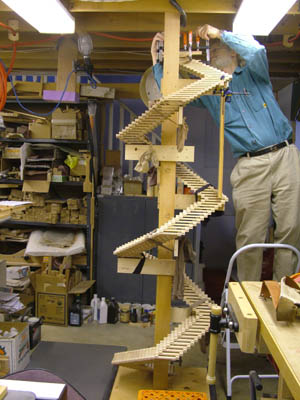
| The last pieces are the hardest |
|
| The problem eventually became how to get the central pole down without dinging the sculpture. Things had to be un-tied and un-screwed in a particular order. and eventually it became a two-person job which finished with no damage. | |
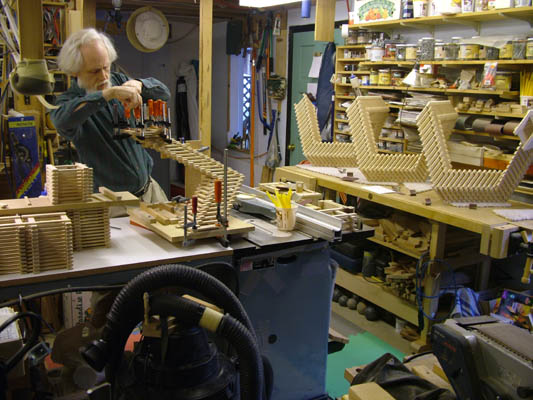
| Gluing 2nd Helix |
|
| Making two identical sculptures has pluses and minuses. The method doesn't have to be worked out the second time, but the job can seem to take forever. | |
|
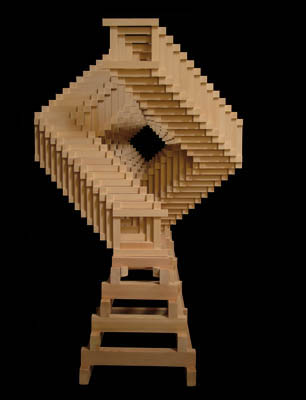
End view of The Meeting At Infinity |
|
| The two helical pieces have been threaded together and placed on a stand, which incorporates invisible sliding groves to allow for a total estimated humidity-driven expansion and contraction of 5/8". | |