|
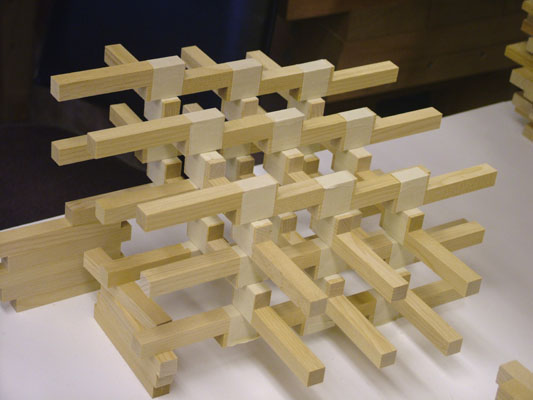
"So Inclined" the idea |
|
| Sometimes the inspiration for a sculpture comes from the scrap bin, uniform pieces that can be stacked, taped, rearranged and photographed once an idea appears. | |
|
"So Inclined" gluing first pieces |
|
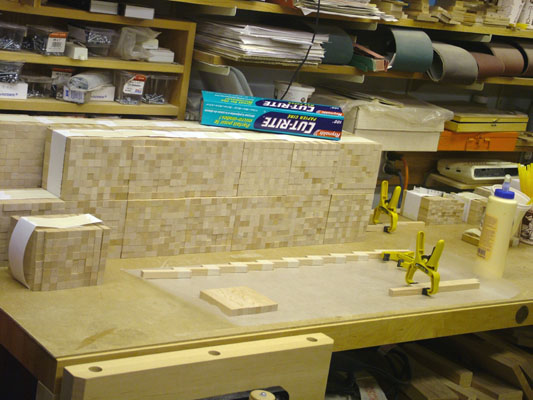
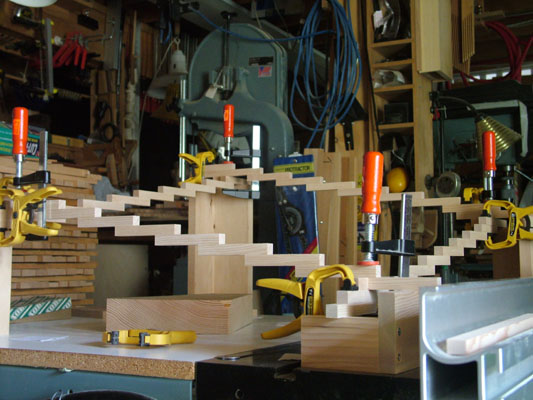
| The best way to begin a sculpture is with a lot of left over pieces from a previous sculpture. The pieces don't all have to be perfect, they just have to be numerous. These were left over from Sliced Ice, but were from wood originally milled for All Is Number. Each strip was cut into six pieces and graded and bundled according to quality. Many of the long pieces would have been unsuited to "All Is Number" because of flaws (warps, cracks, knots, etc), but by cutting them into small pieces, almost every piece was usable, and the rejects still functioned in other capacities (test pieces, spacers, etc). Here, having experimented enough with groups of taped pieces to be convinced that the sculpture will work, this is the clamping of the first two pieces of "So Inclined." | |
|
A lot of gluing remains |
|
| Eventually gluing and clamping become routine and that is when vigilance is important. A mistake can be made at this stage and only cost no more than 10 wasted units, but once final assembly begins, then over-confidence is treacherous. | |
|
Gluing the last few strips |
|
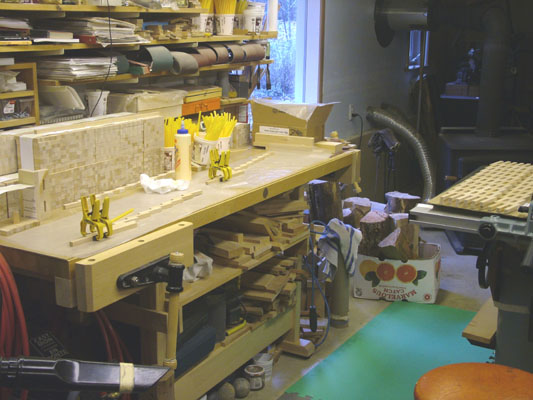
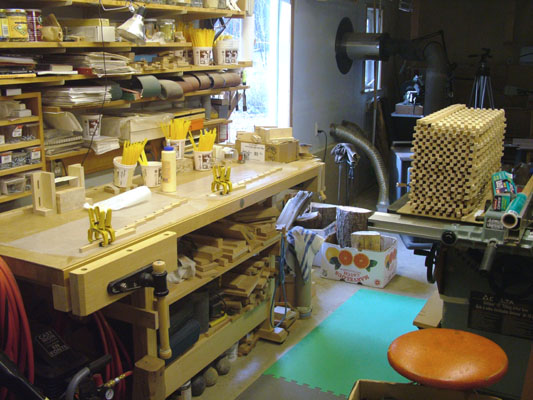
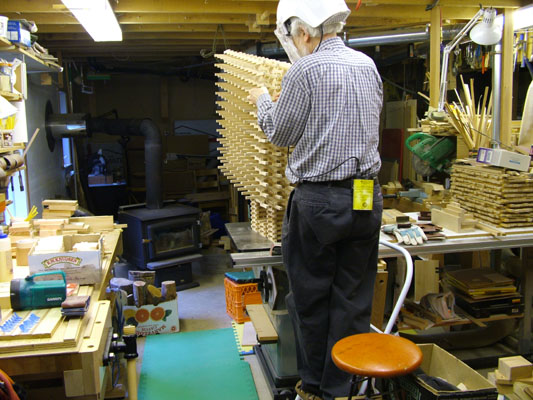
| Nearing the end of gluing up 243 strips (27 rows x 9 pieces per strip) | |
|
"So Inclined" gluing first pieces |
|
| No part of a glue job gets more attention than the first glue joint, whether the actual first joint or the first of a glued-up unit. Here, all four corners are just clamped, with no glue, so they can be rearranged as many times as necessary to get all four strips accurately perpendicular to each other. Then the corners are glued one by one, with plenty of time in between corners for the glue to set - there is no hurry, especially here. | |
|
A marching row of clamps |
|
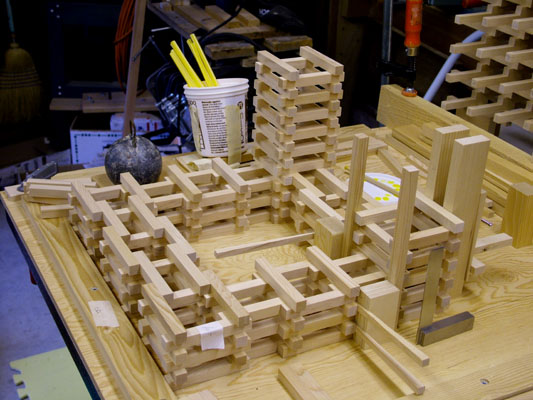
| The staircase-like strips being glued are made up of 10 short pieces (about 3" each), which in order to deal with small differences in wood thickness and gluing were glued up (nine at a time) into layers using 20 small clamps. | |
| Where to stop? |
|
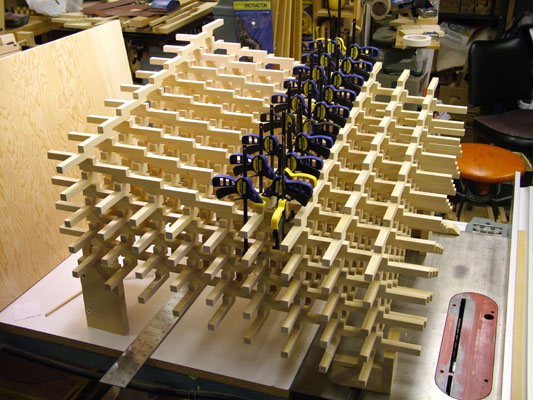
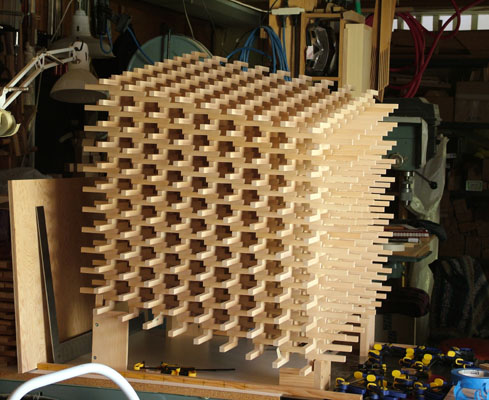
| After 23 layers, the sculpture was beginning to look cubic from some angles, while from other angles it looked like it needed more layers. | |
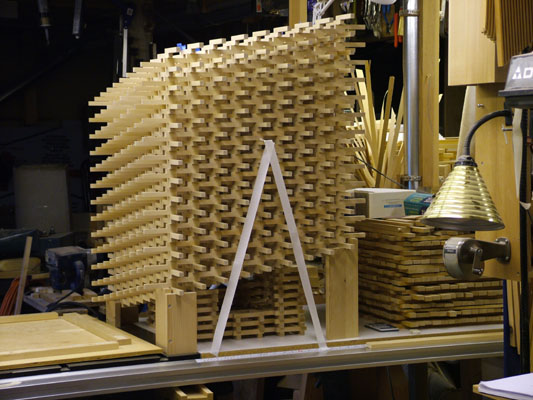
| Nearing ceiling |
|
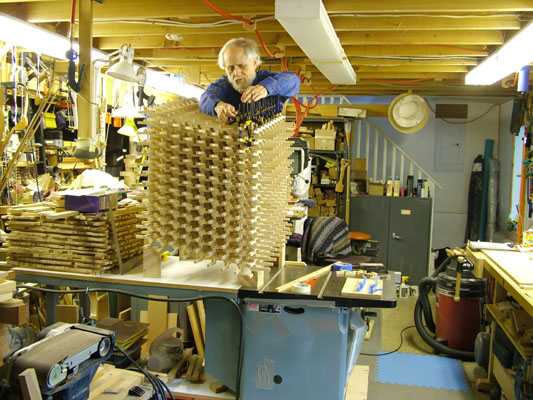
| As the sculpture grew, it became increasingly difficult for the arms to reach and the eyes to focus as the ceiling appeared to get lower. | |
|
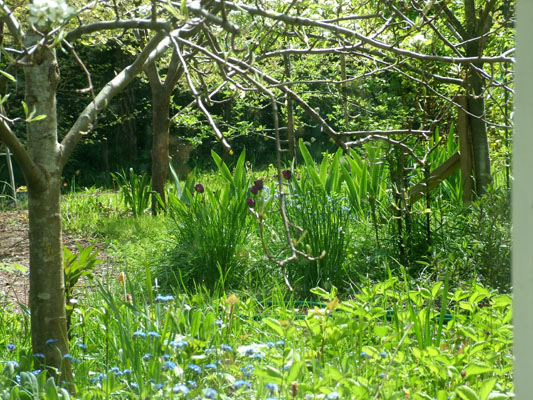
Spring view from workshop window |
|
| There are times when one would rather be outside, particularly so in Spring with all the blossom and garden chores beckoning; but while waiting for glue to dry, the view out the workshop window is extremely relaxing. | |
| Centre of gravity |
|
| The stand for this sculpture was a little more difficult than usual because of the differing heights of the corners from the supporting surface. Besides the requirement of making for a level support, it was also necessary to think about stability, with the center of gravity and the proposed base vaguely simulated by the two strips of masking tape. | |
|
Assembling the stand |
|
| Even the stand for this sculpture required using jigs for accurate placement. | |
| Sanding |
|
| The second to last stage of construction, sanding, is made a lot easier (and safer) by a respirator helmet that filters out dust particles well down into the micron range. | |
|
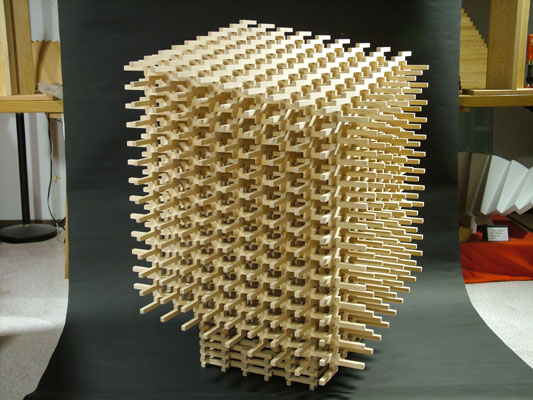
Studio portrait |
|
| Naming, pricing, and photographing are the final stage of each sculpture, one that sometimes gets dragged out either while waiting for a good name or just postponing the rearrangement of the studio to accomodate the black paper backdrop. | |